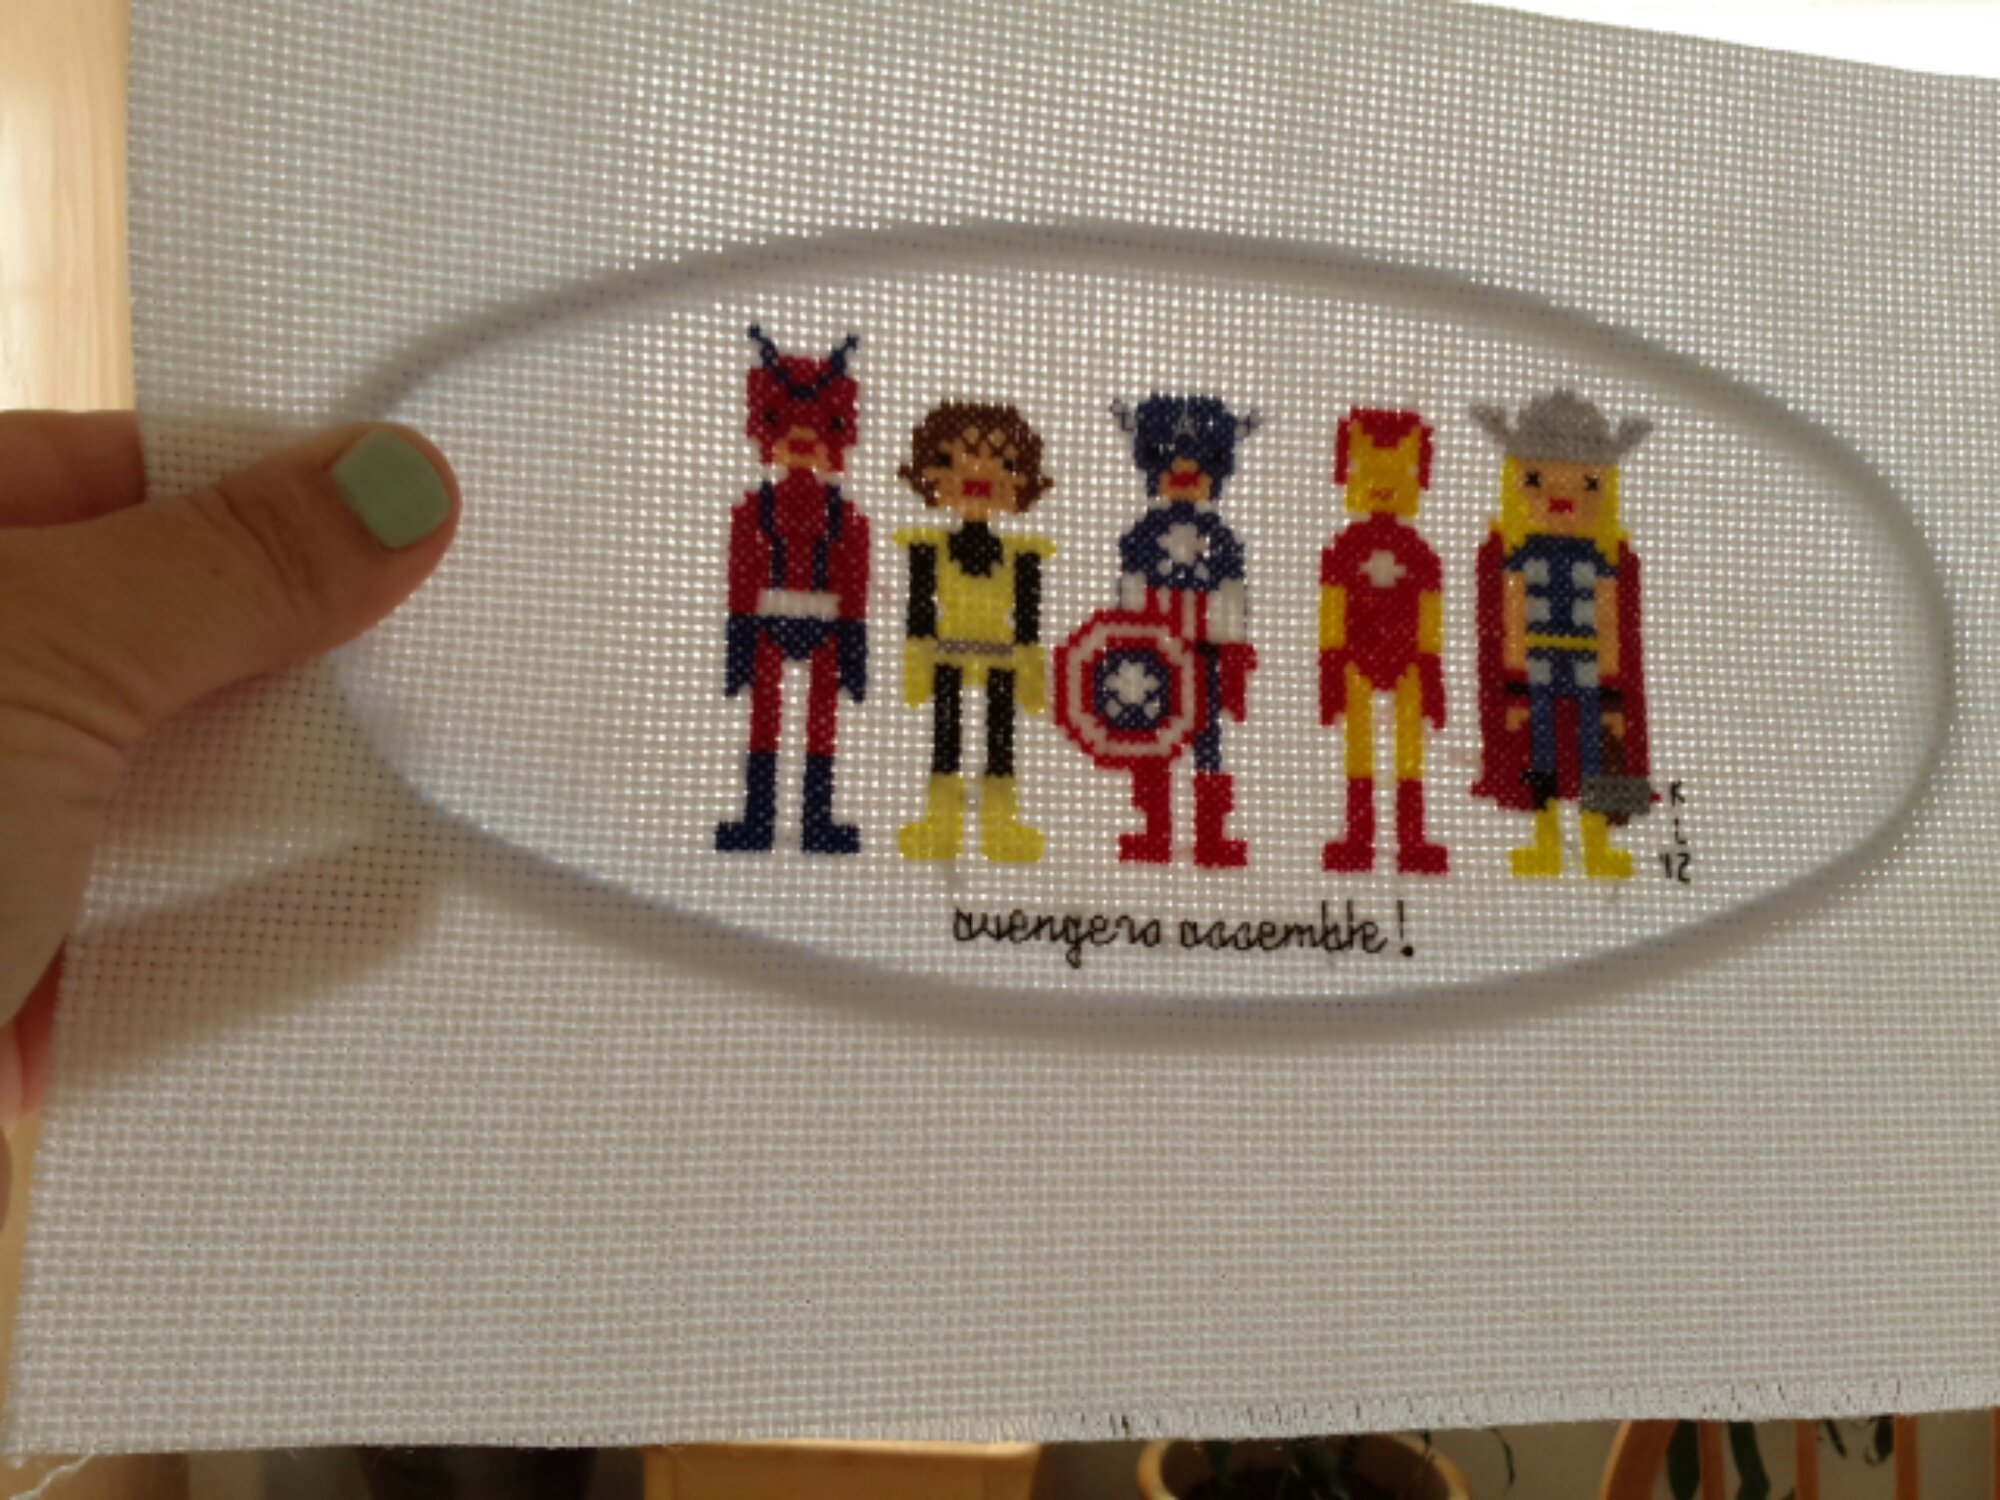
I thought I’d share how to frame a cute little stitch. As you know, I’m hooked on Wee little Stitches, and most of their stuff is small. Hence, easy to carry around, finish in a decent amount of time, etc. But what do I do with all those stitches I’ve done? Framing those things professionally would be way too expensive. I found the hoop section at the craft store and brought along my stitches to frame. I picked out the ones that looked nice. Each frame is anywhere from $1-4. I chose some bright plastic ones because these projects are going in my sons’ room, but the wood ones look nice too.
Anyway, here are the supplies you’ll need:
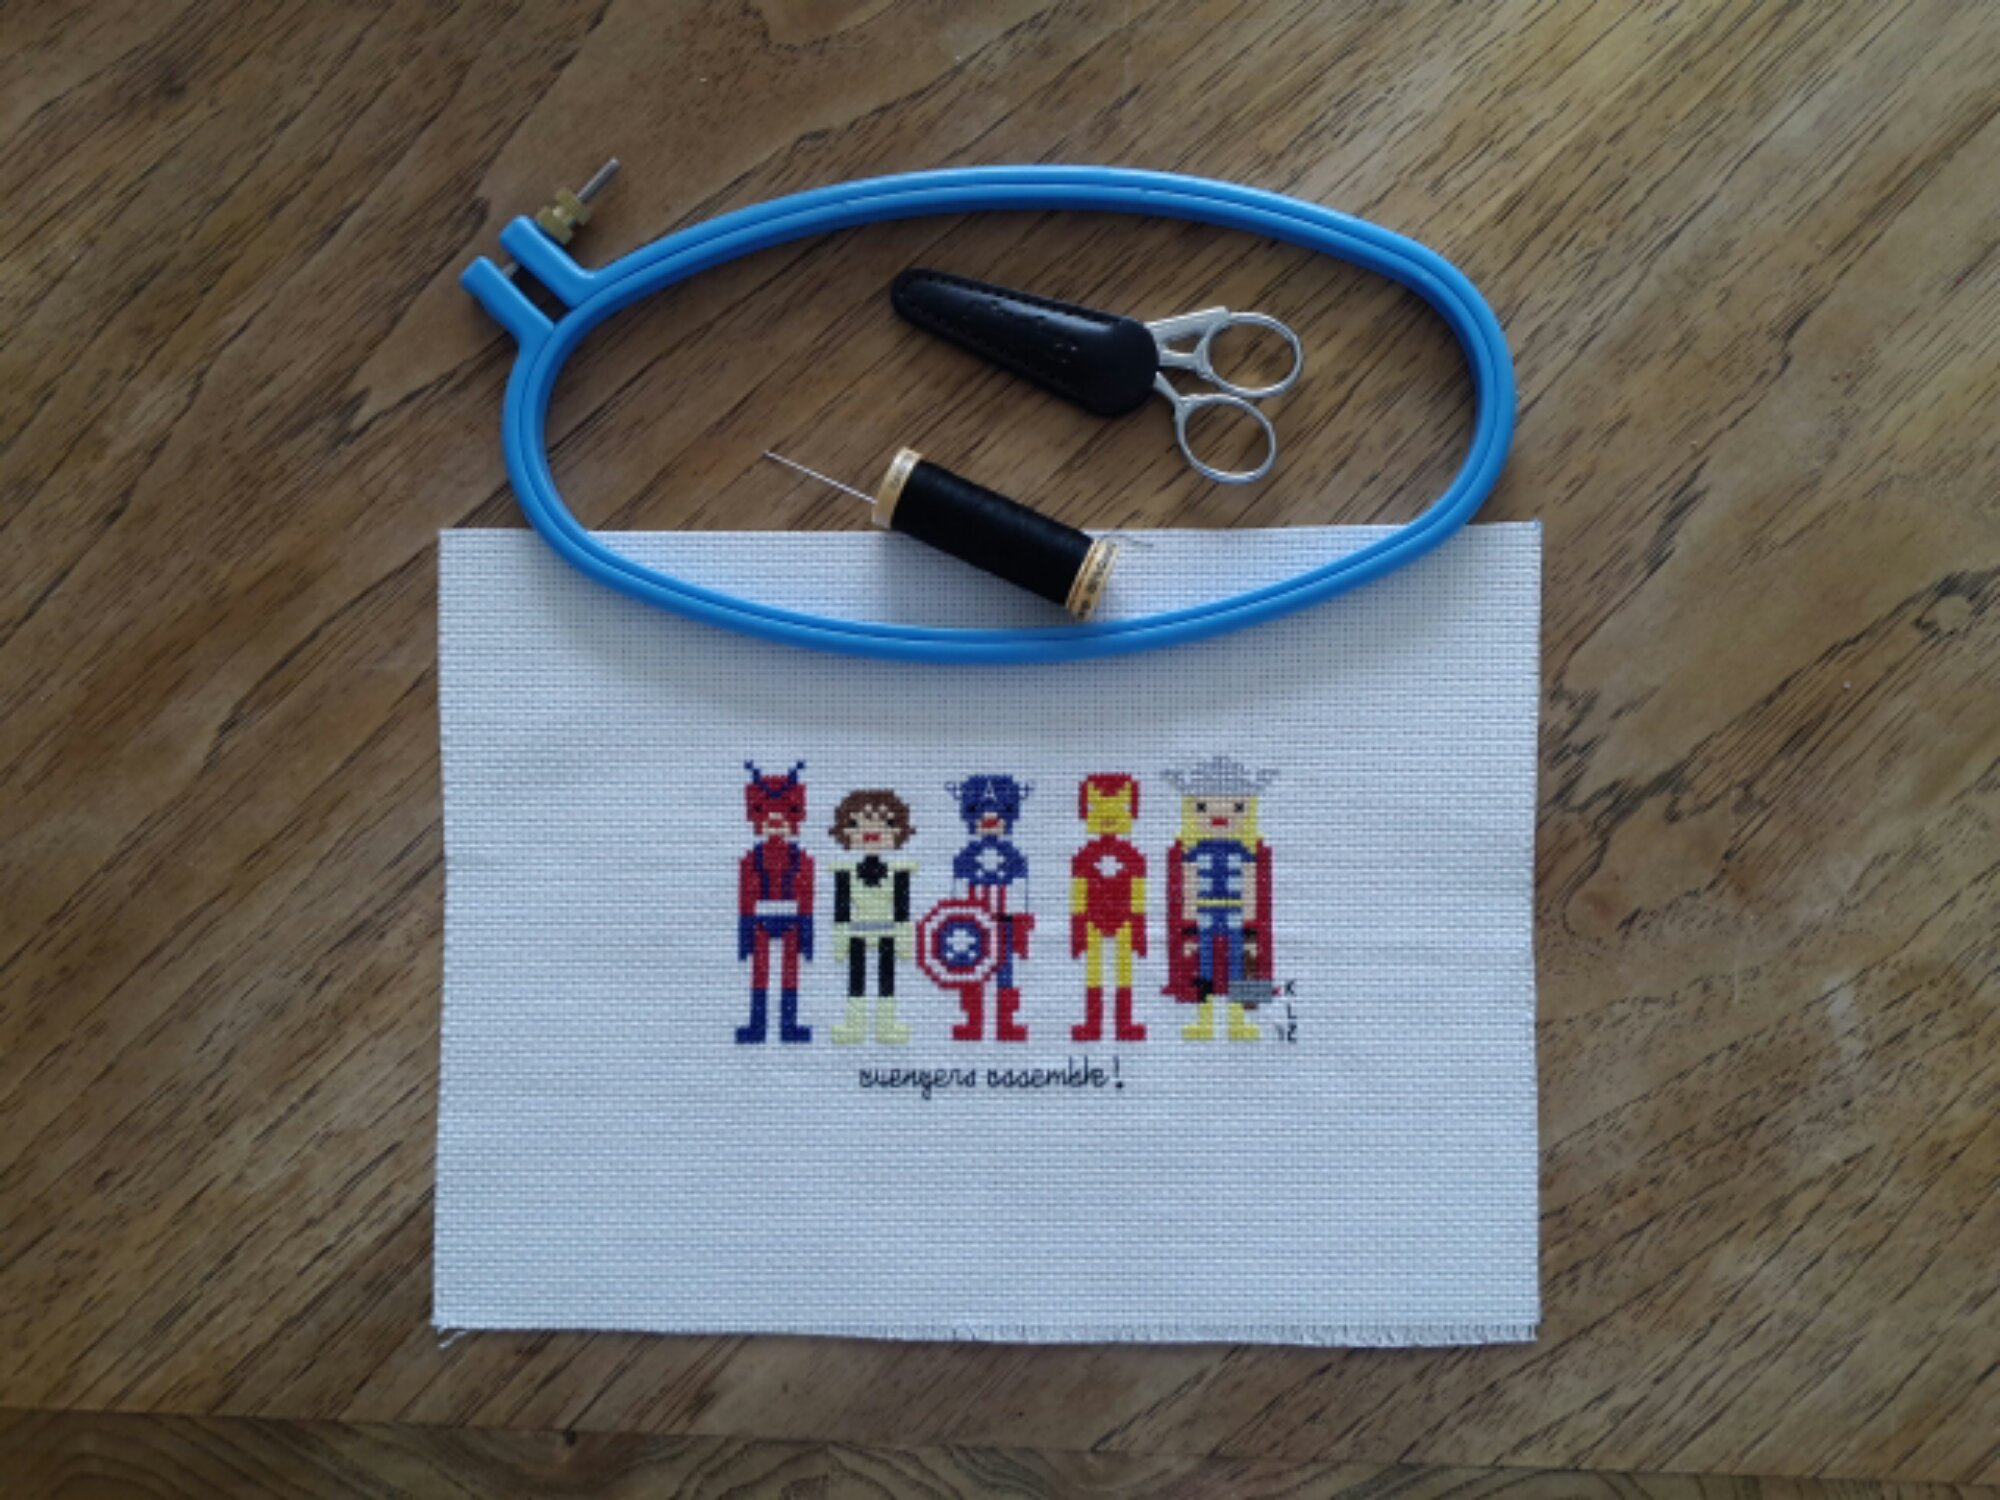
The finished, ironed piece, scissors, good thread, and a hoop. I also use a scrap piece of fabric but you’ll see that in a minute.
Take the hoop apart and line up the back piece behind the stitching-a window helps here. You can adjust it later so right now just get it mostly in place.
Now place it on a clean surface, or that cloth, and out the top piece on. I love the plastic hoops for framing because they really hug the fabric and hold it in place. Get the piece about where it needs to be, tighten the top hoop a little, then gently tug the fabric around until it is centered.
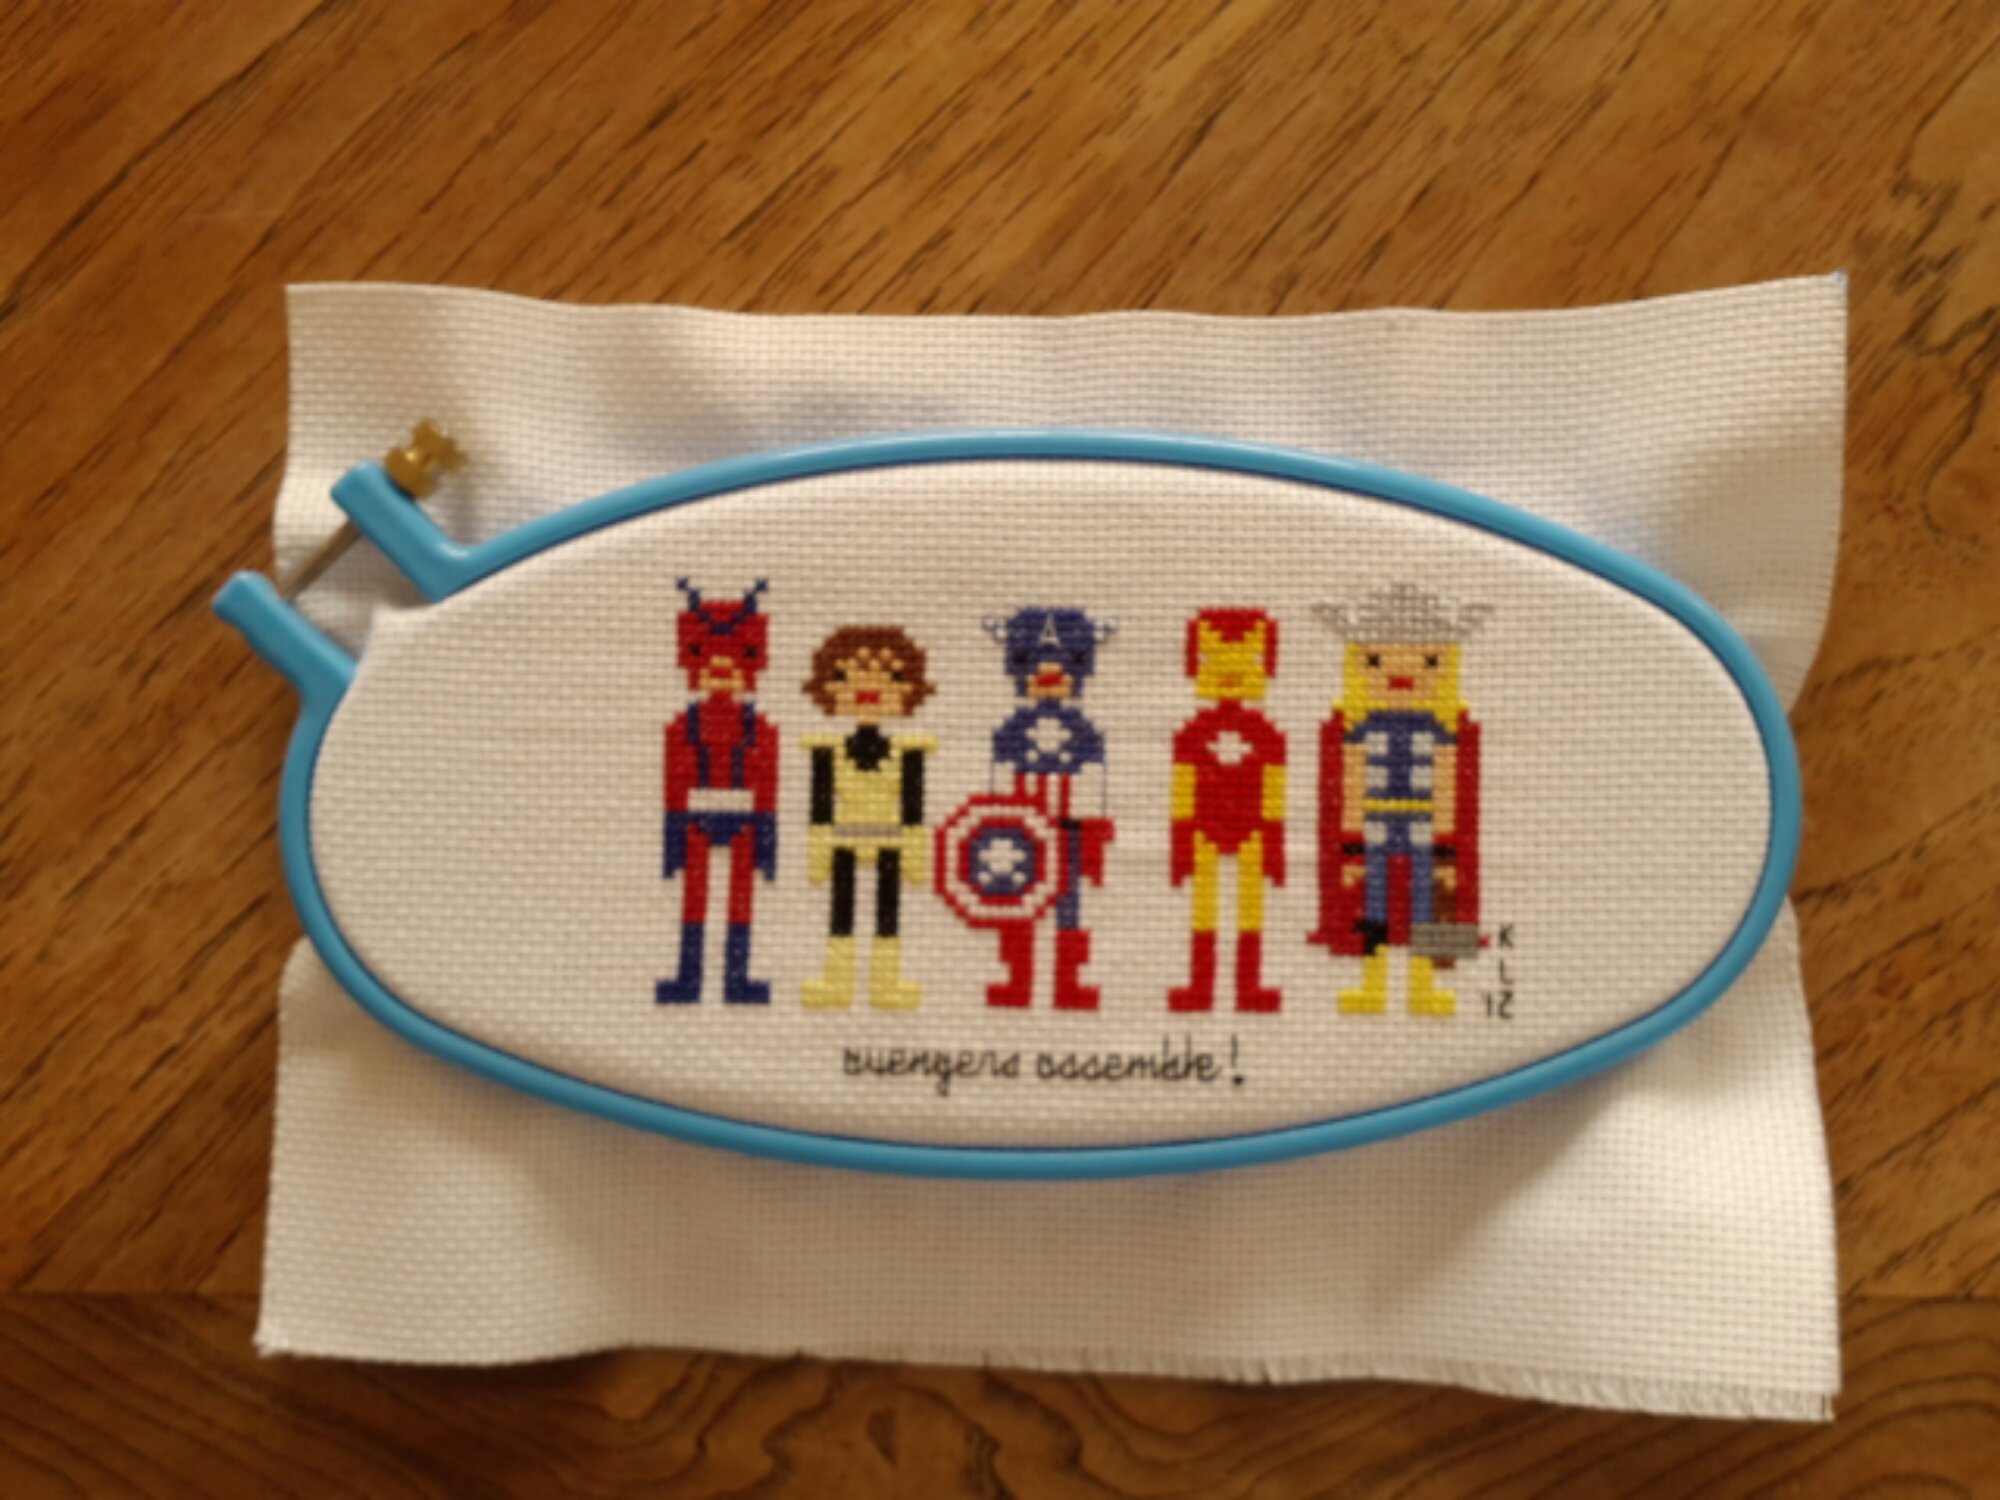
This takes a while sometimes, but be patient. No worries. Don’t get too OCD about it or you’ll throw something. Not that I….throw things…ahem.
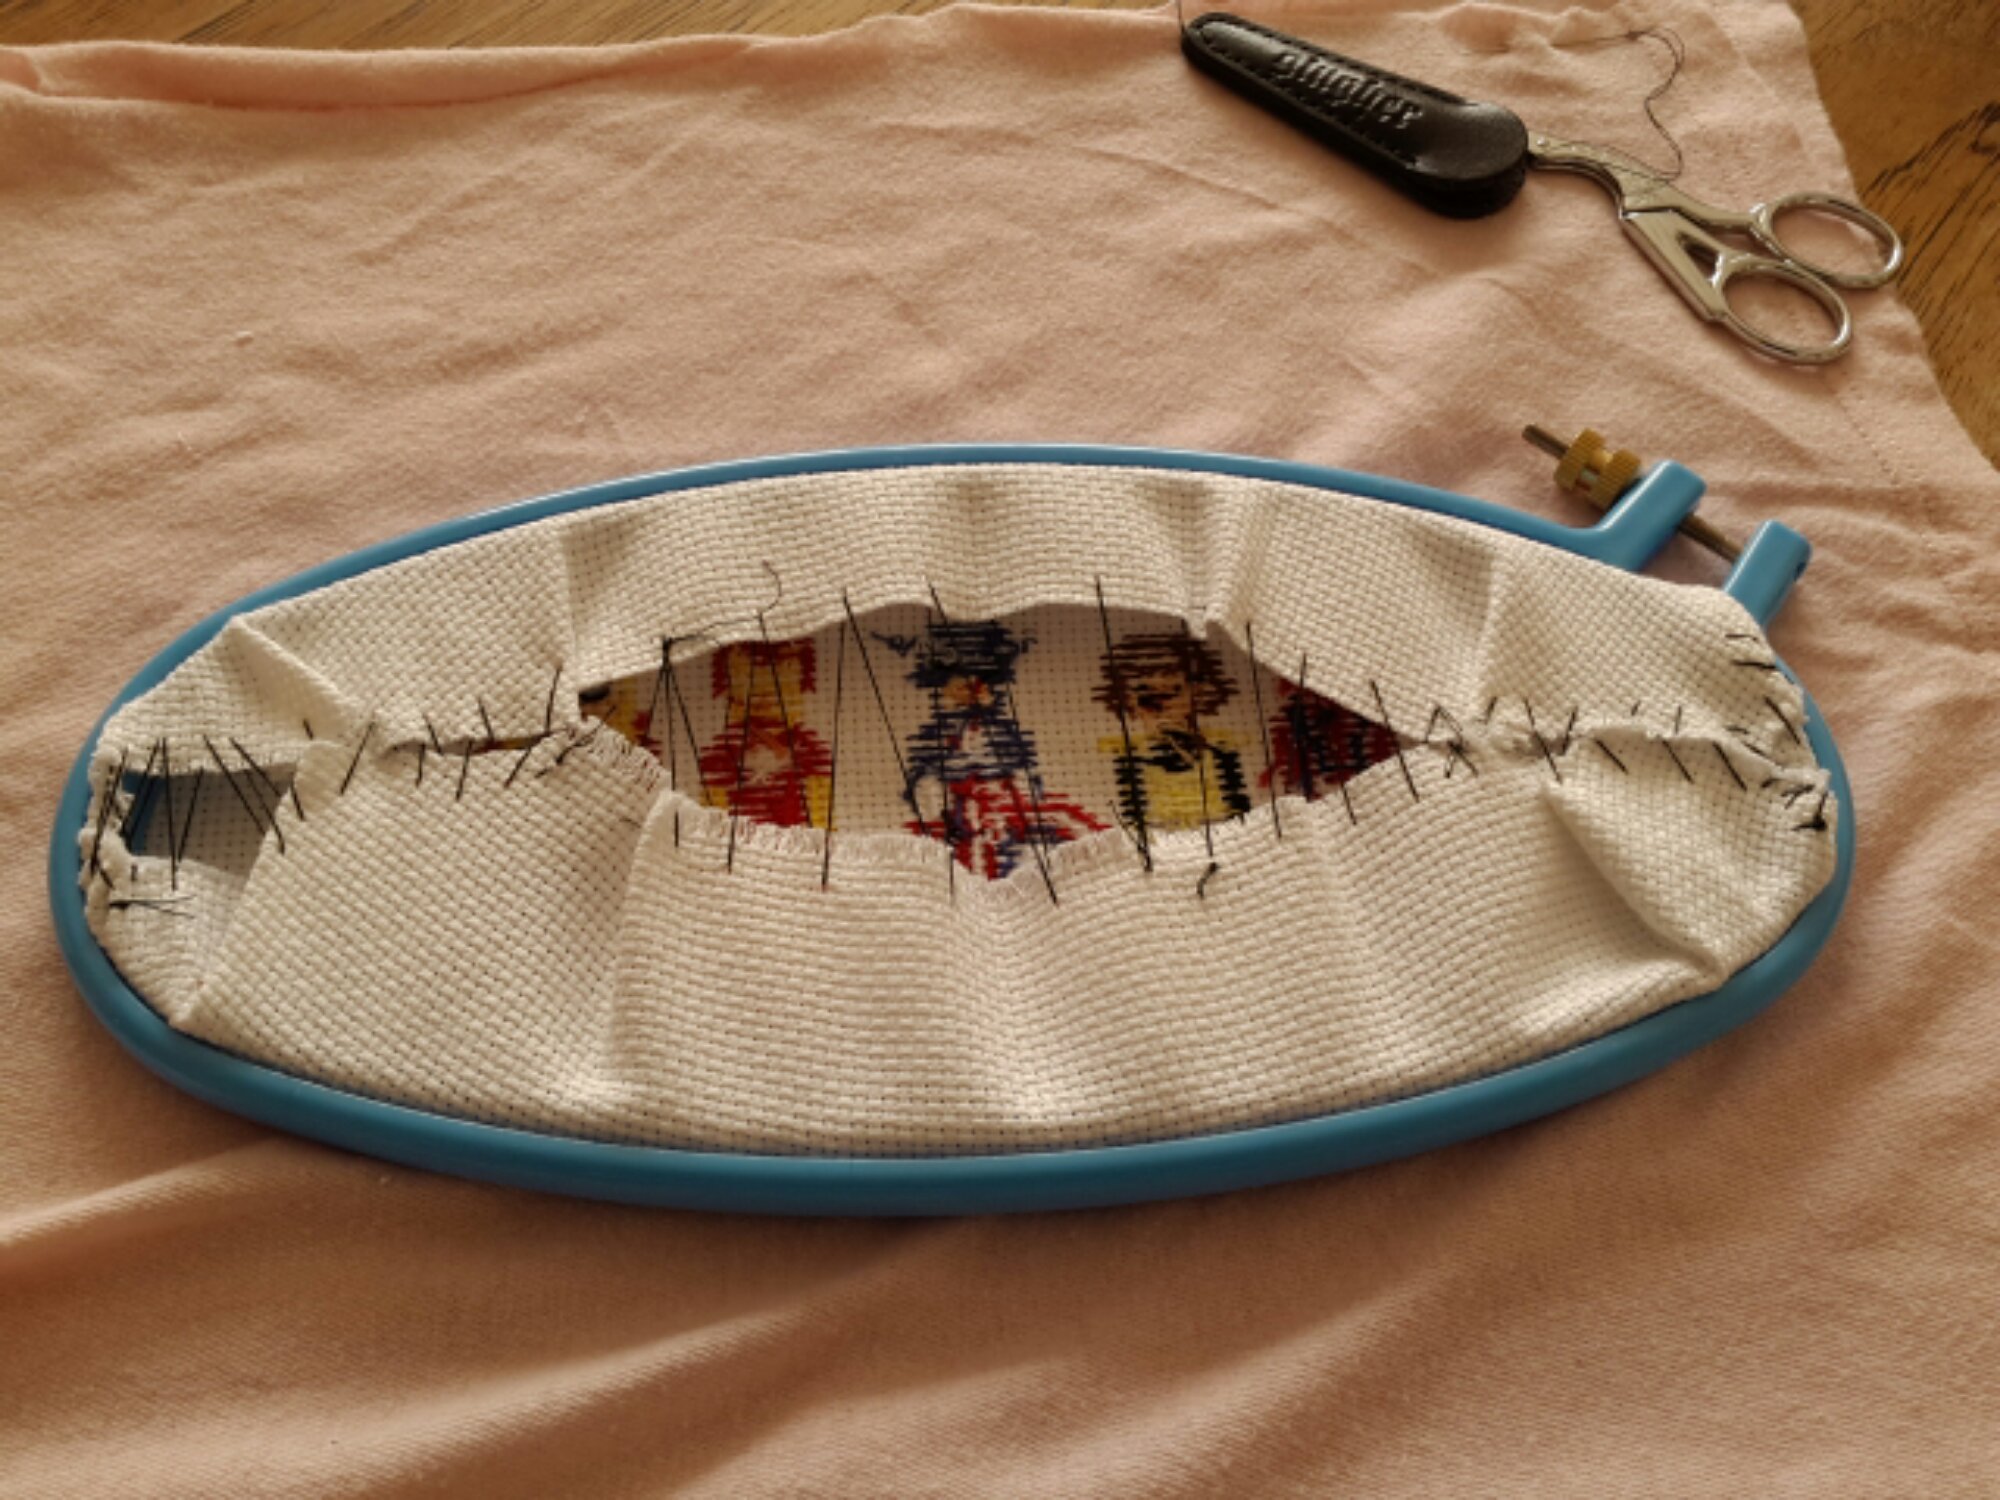
Now here is the finishing part. Make sure that hoop is on tight as you can (don’t resort to pliers or anything just use your mad sewing finger strength or the plastic may break and things will get thrown) and flip the piece over. I use a scrap from an old t-shirt.
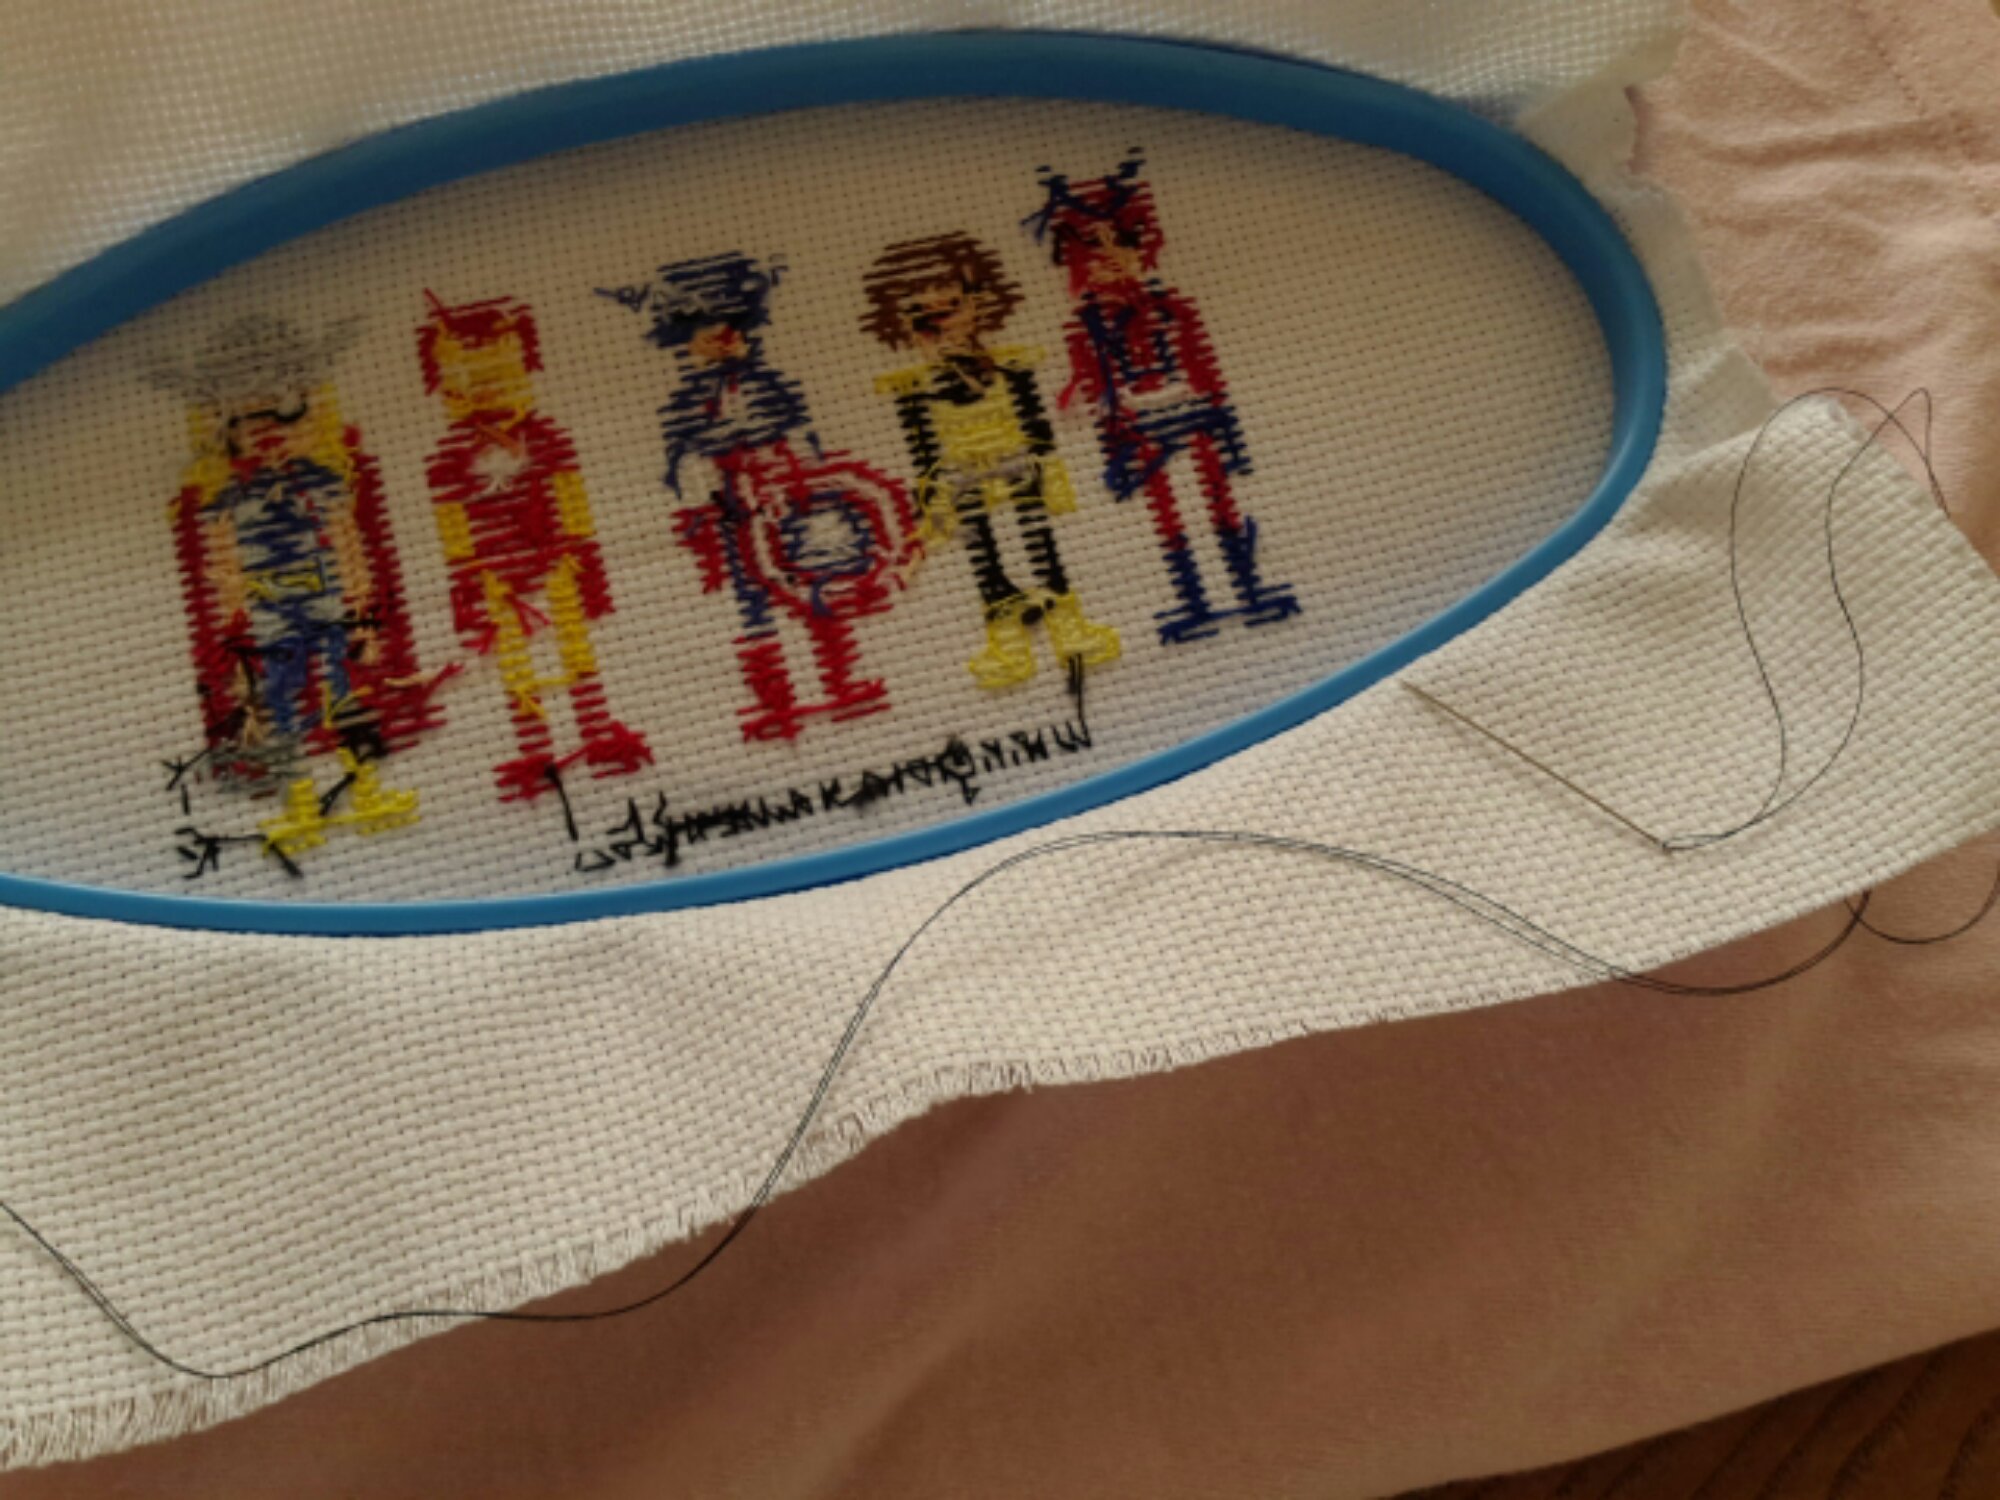
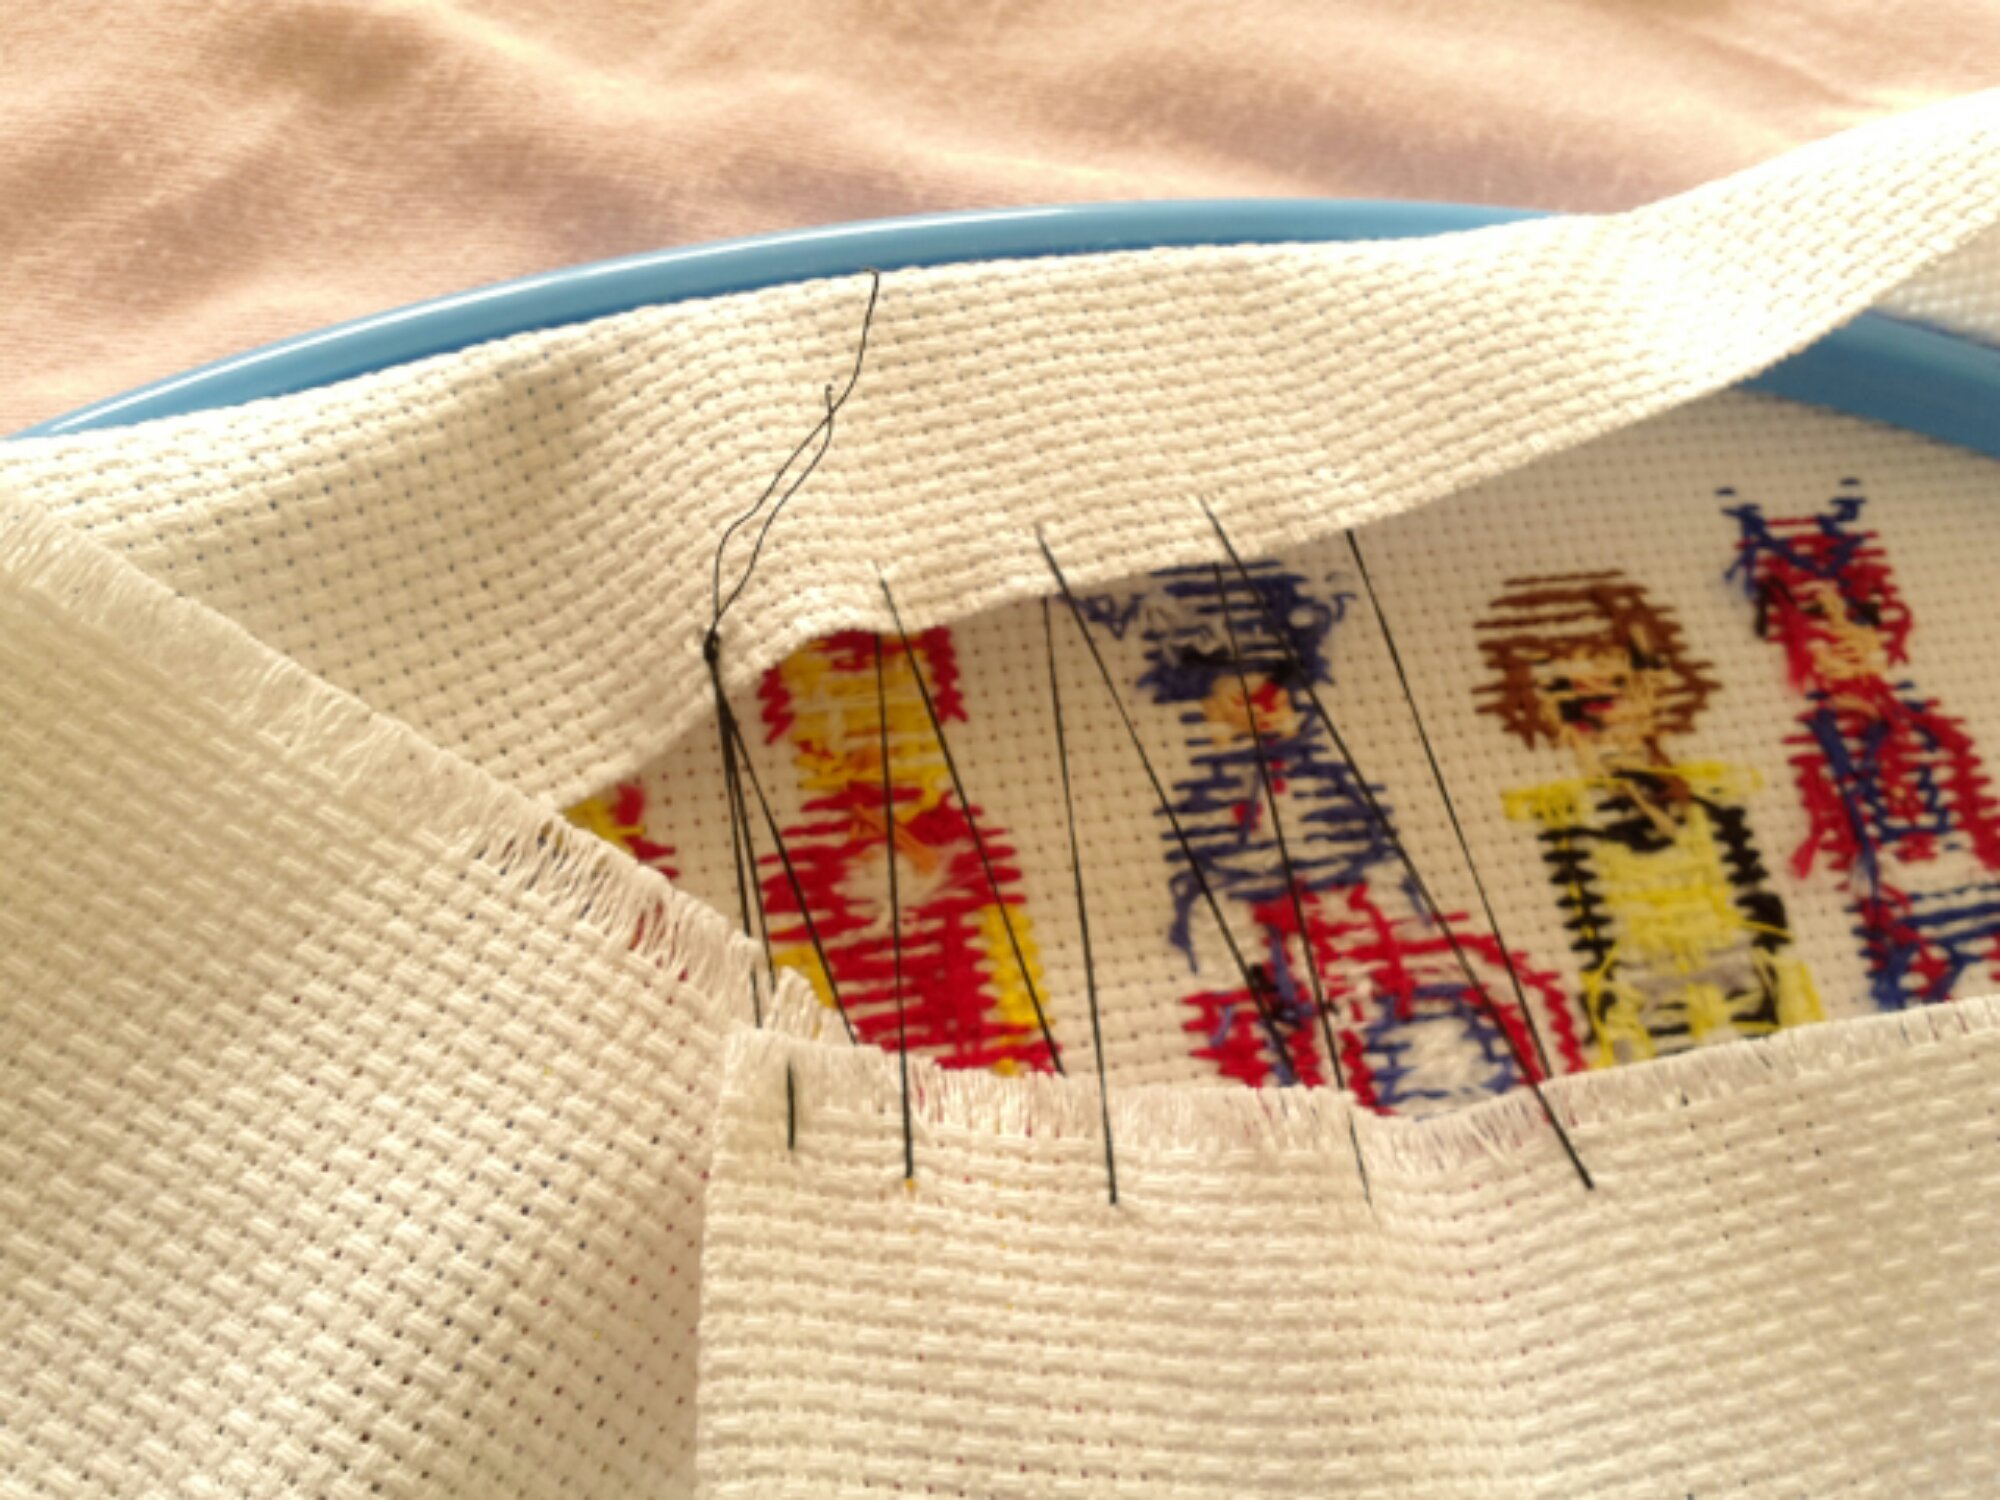
Pull off a fair length of thread, thread the needle, and pull both end of the thread together and knot the end. Knots are your friend here; the back will face the wall anyway so do not fear the knots!
Gently fold the fabric towards the center of the hoop and start sewing the opposite ends together. Pull fairly tightly, but don’t break the thread. Tone down your mad sewing finger strength for this. You can tighten it later. Go in a zig zag fashion across the back. (I re-threaded two or three times and only broke the thread once-no problem) You may have to trim the fabric a bit to make it easier.
You end up with a Frankenstein monster type stitching that will keep the fabric taught and secure.
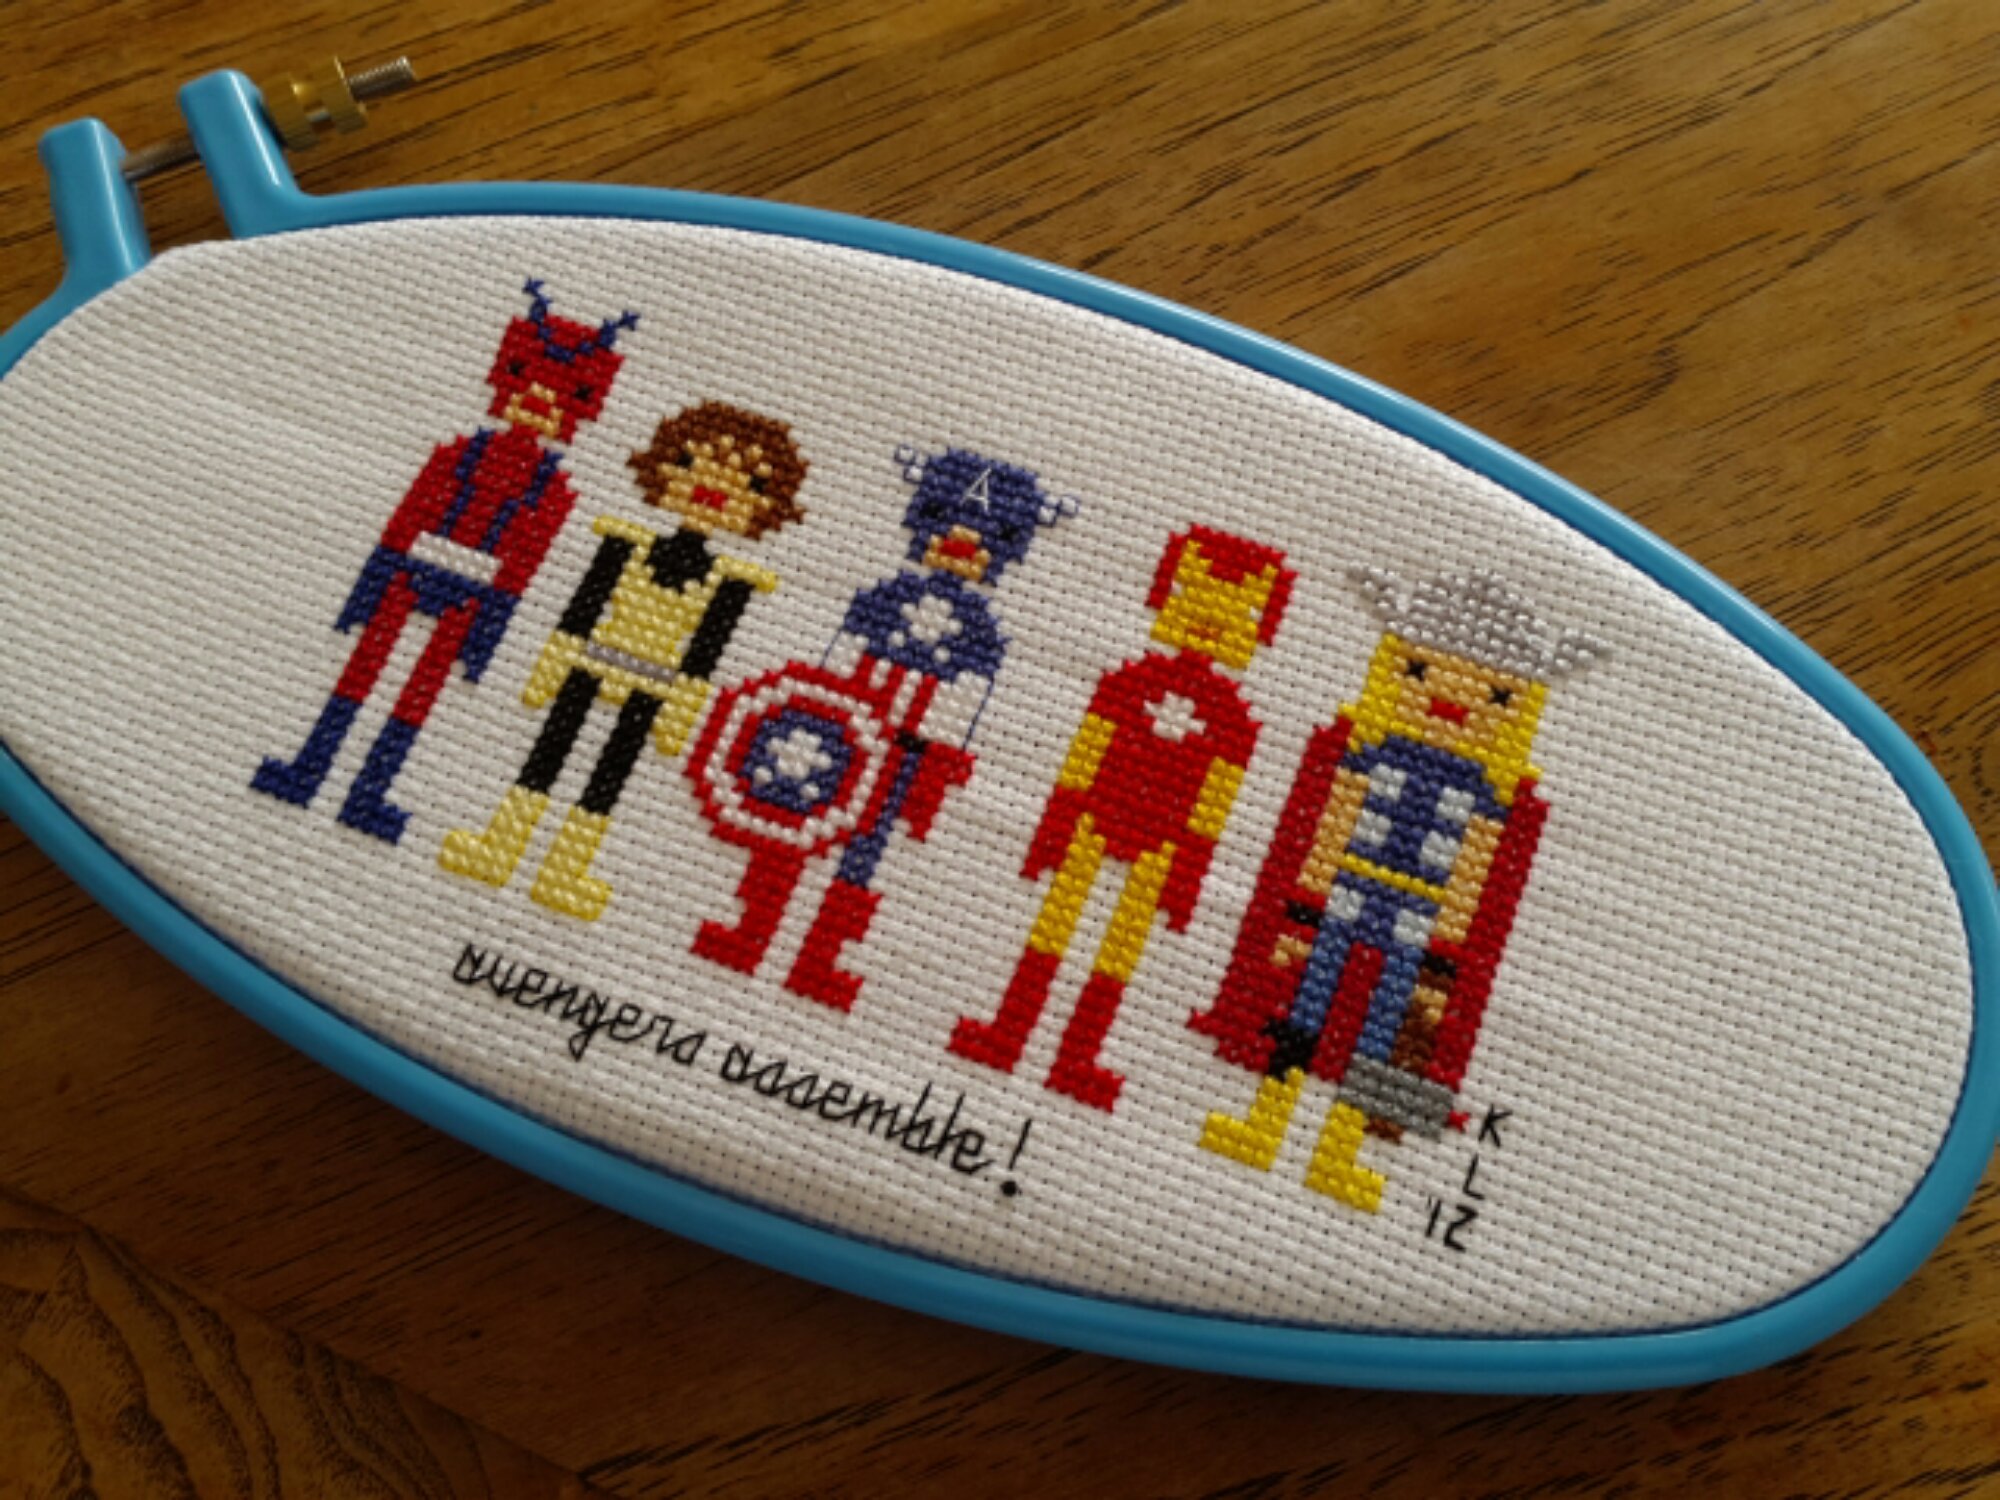
Ta-da! A work suitable for your wall. :-) This is the free Avengers patterns from the Wee Little Stitches blog. I used DMC glow in the dark tfloss for Iron Man’s eyes and chest. I used silver rayon DMC thread for Thor’s helmet and added a hammer for him (the original doesn’t have one). I also changed Wasp’s outfit colors to match the cartoon version we like.
I have three more to finish today, plus two that need more attention because they don’t quite fit in the hoops. I’ll go over that hack later.
Have fun! Display those stitches!
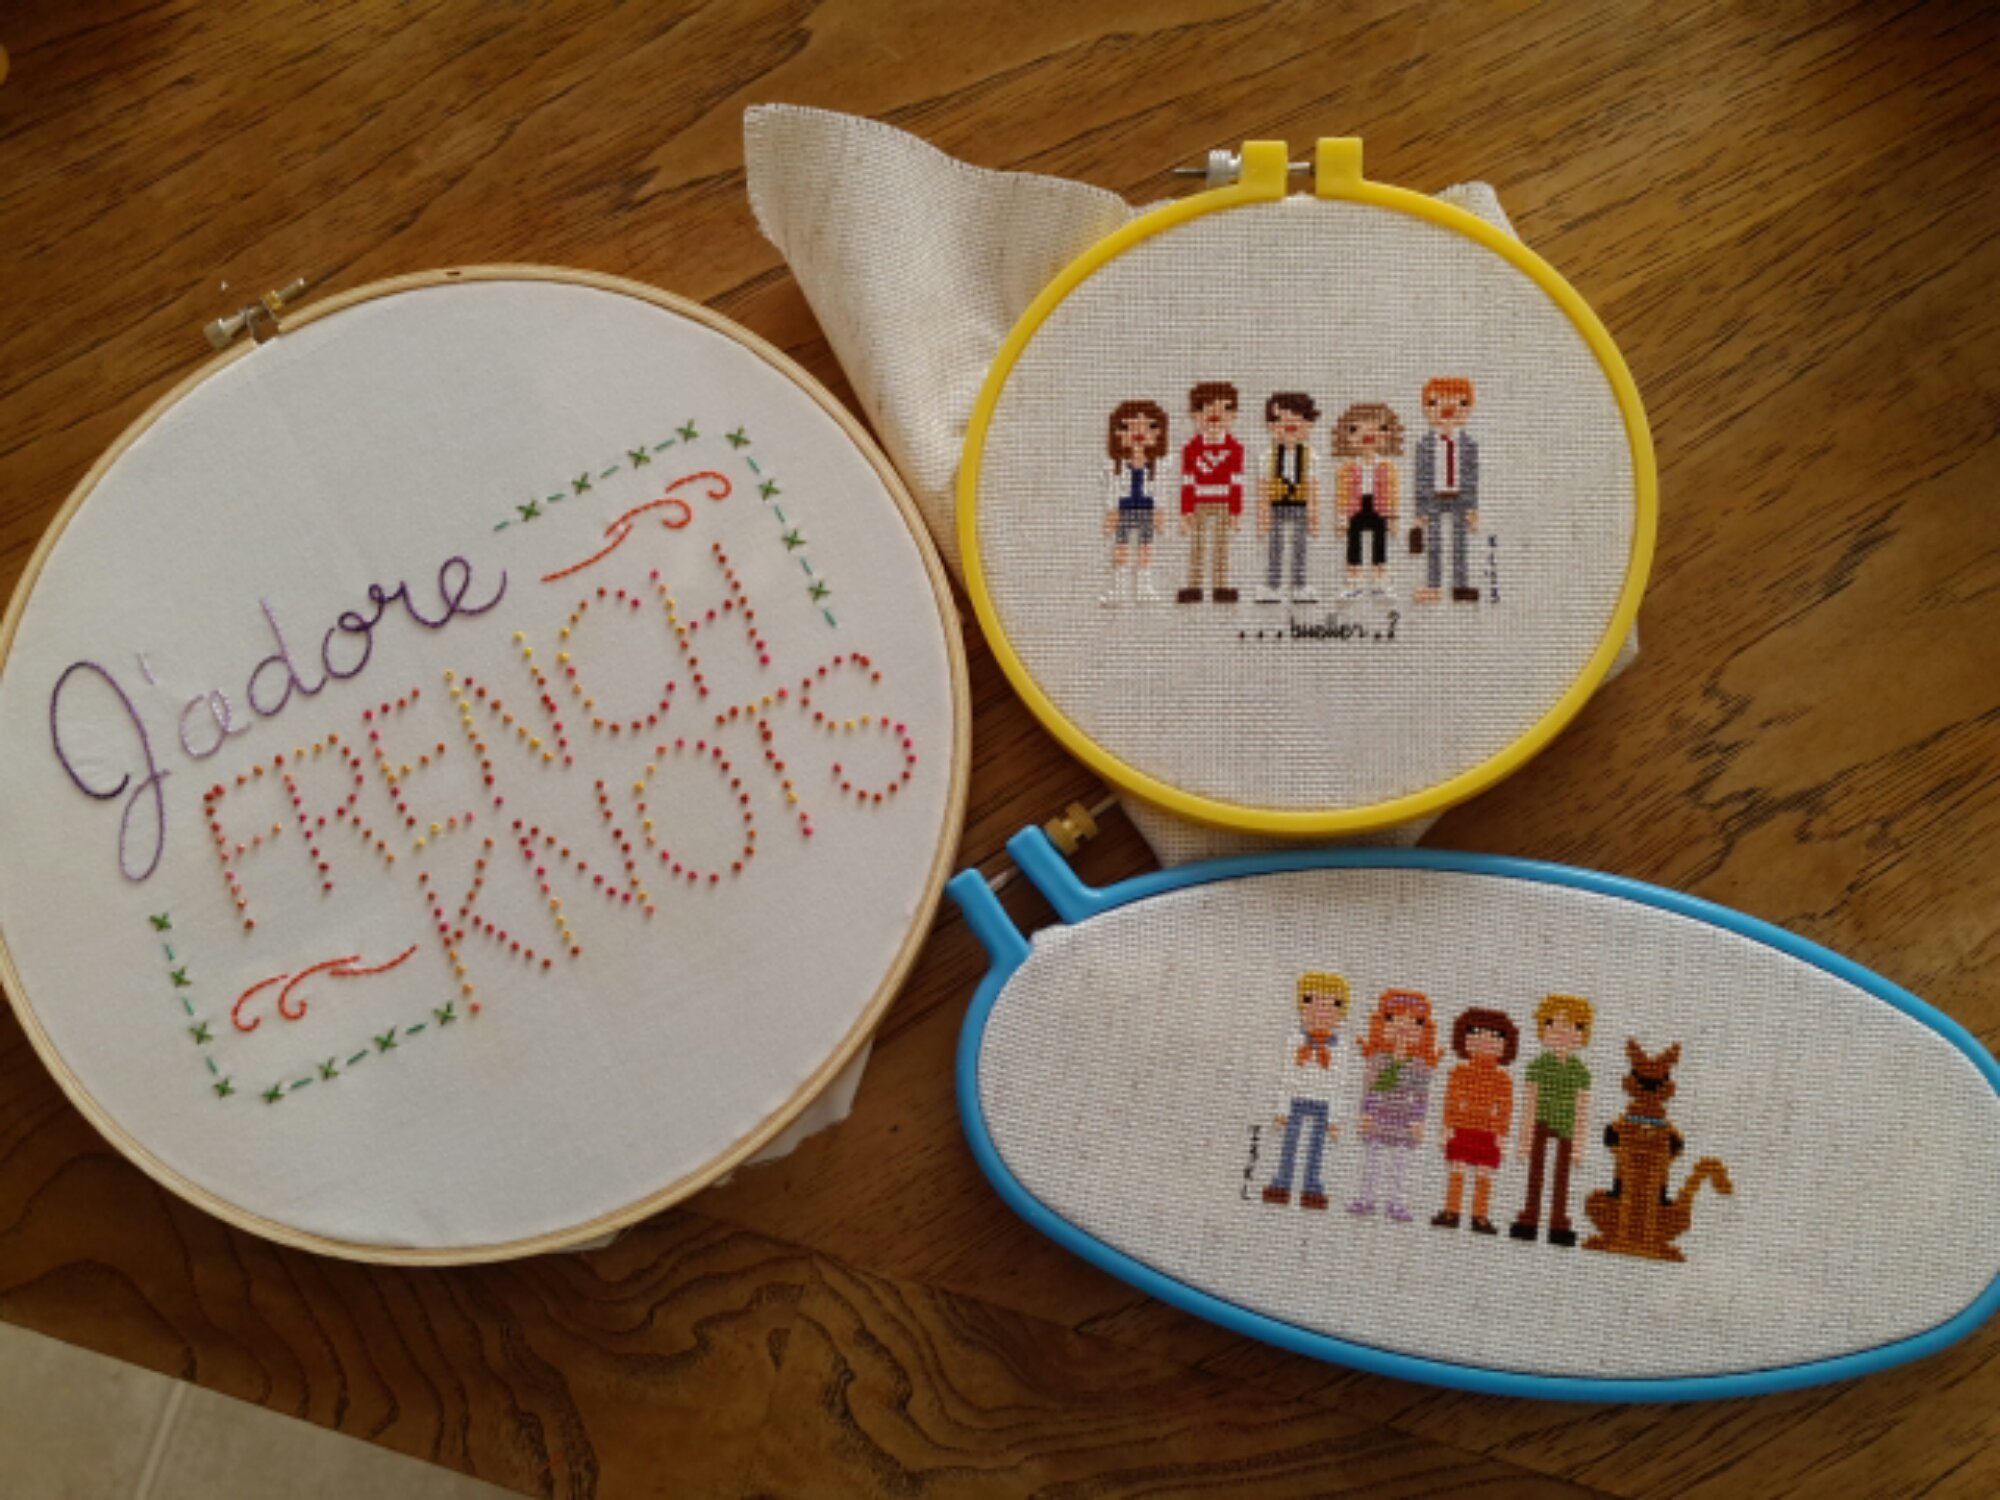
(French knots is from sublime Stitching, also how I overcame my fear of French knots! The other two are also WLS Ferris Beuller and Mystery Inc)
